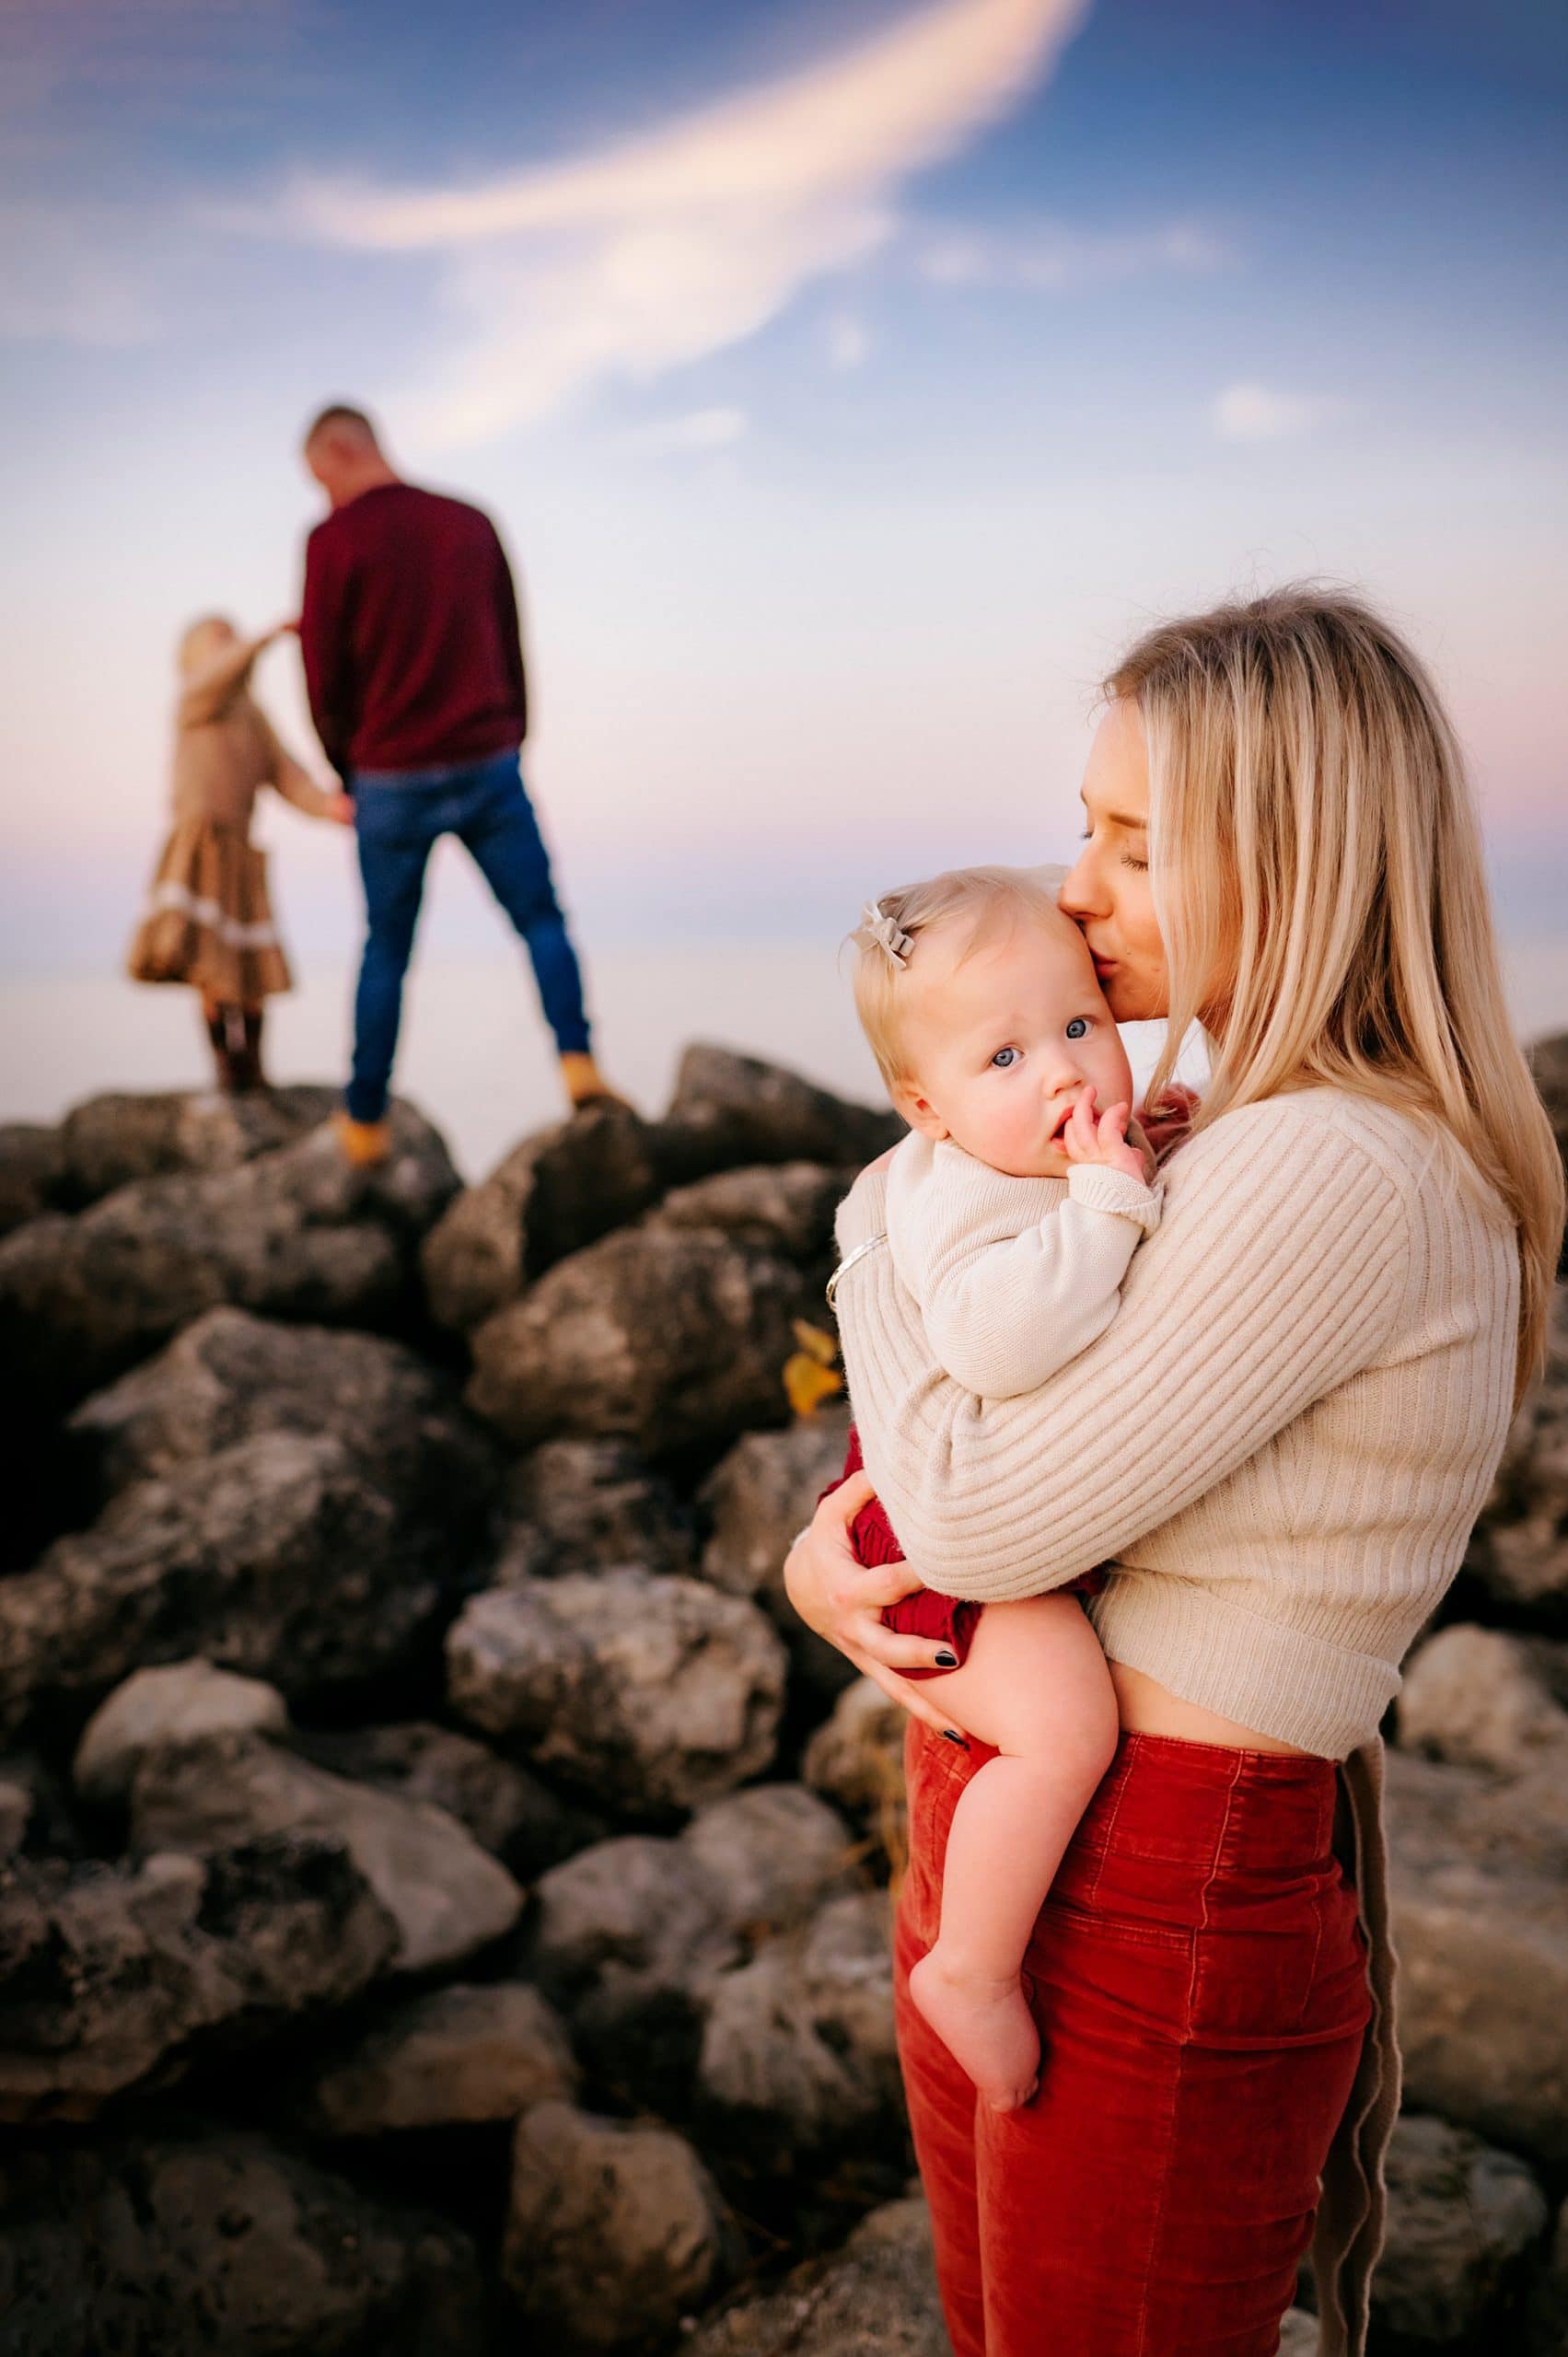
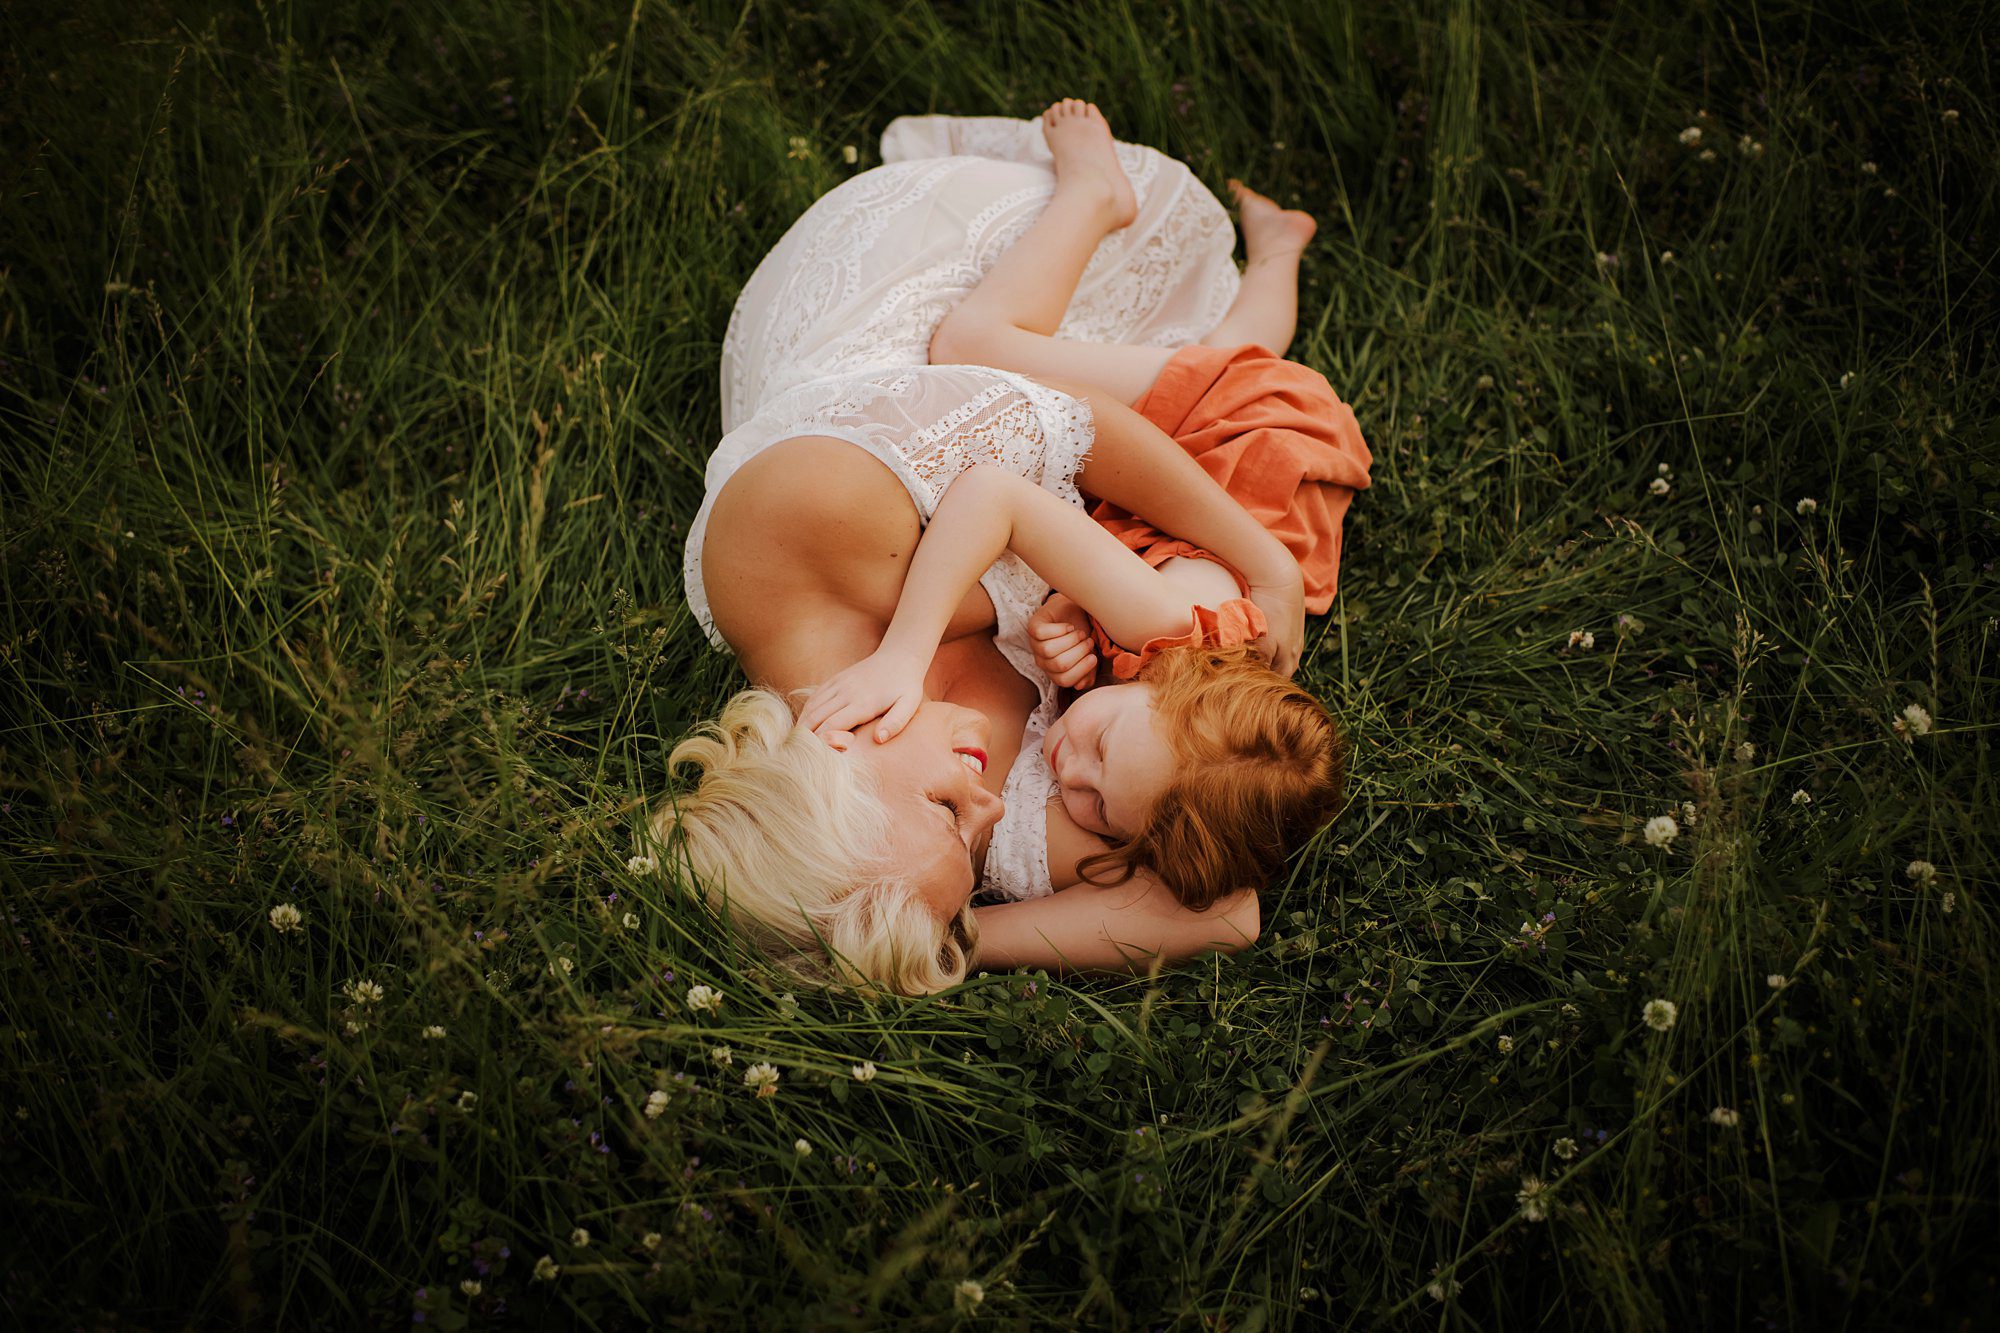
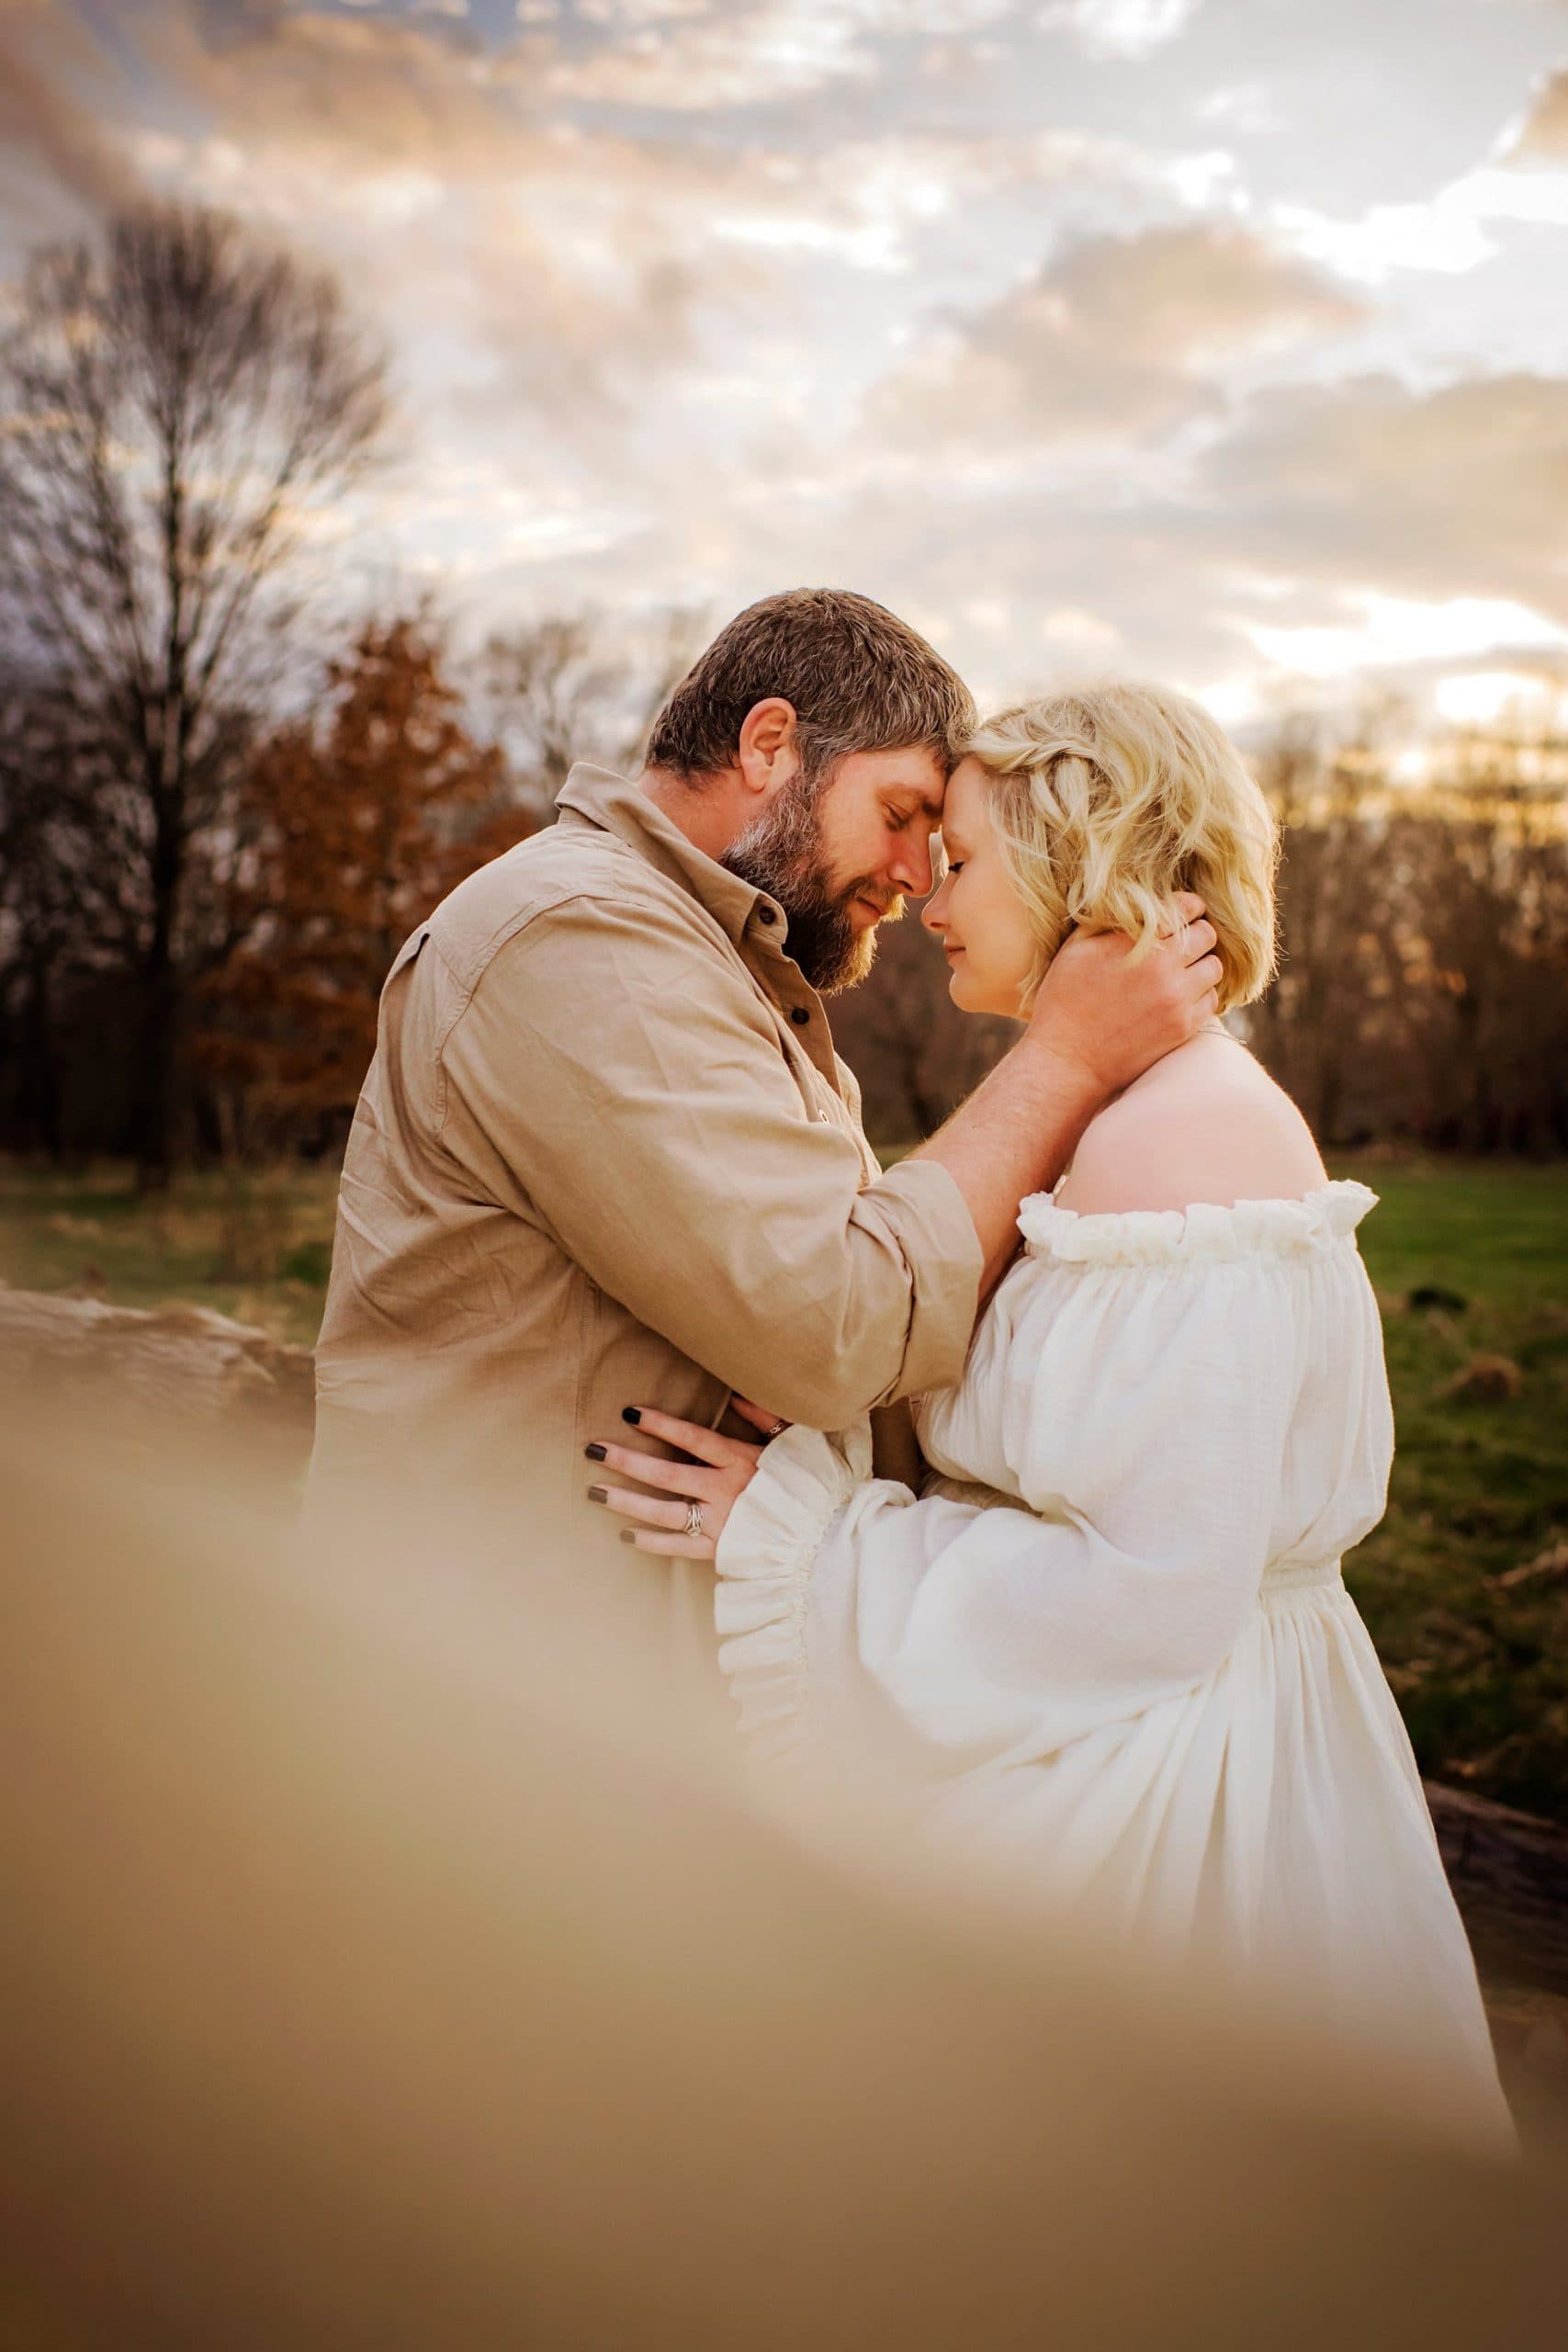
What is freelensing?
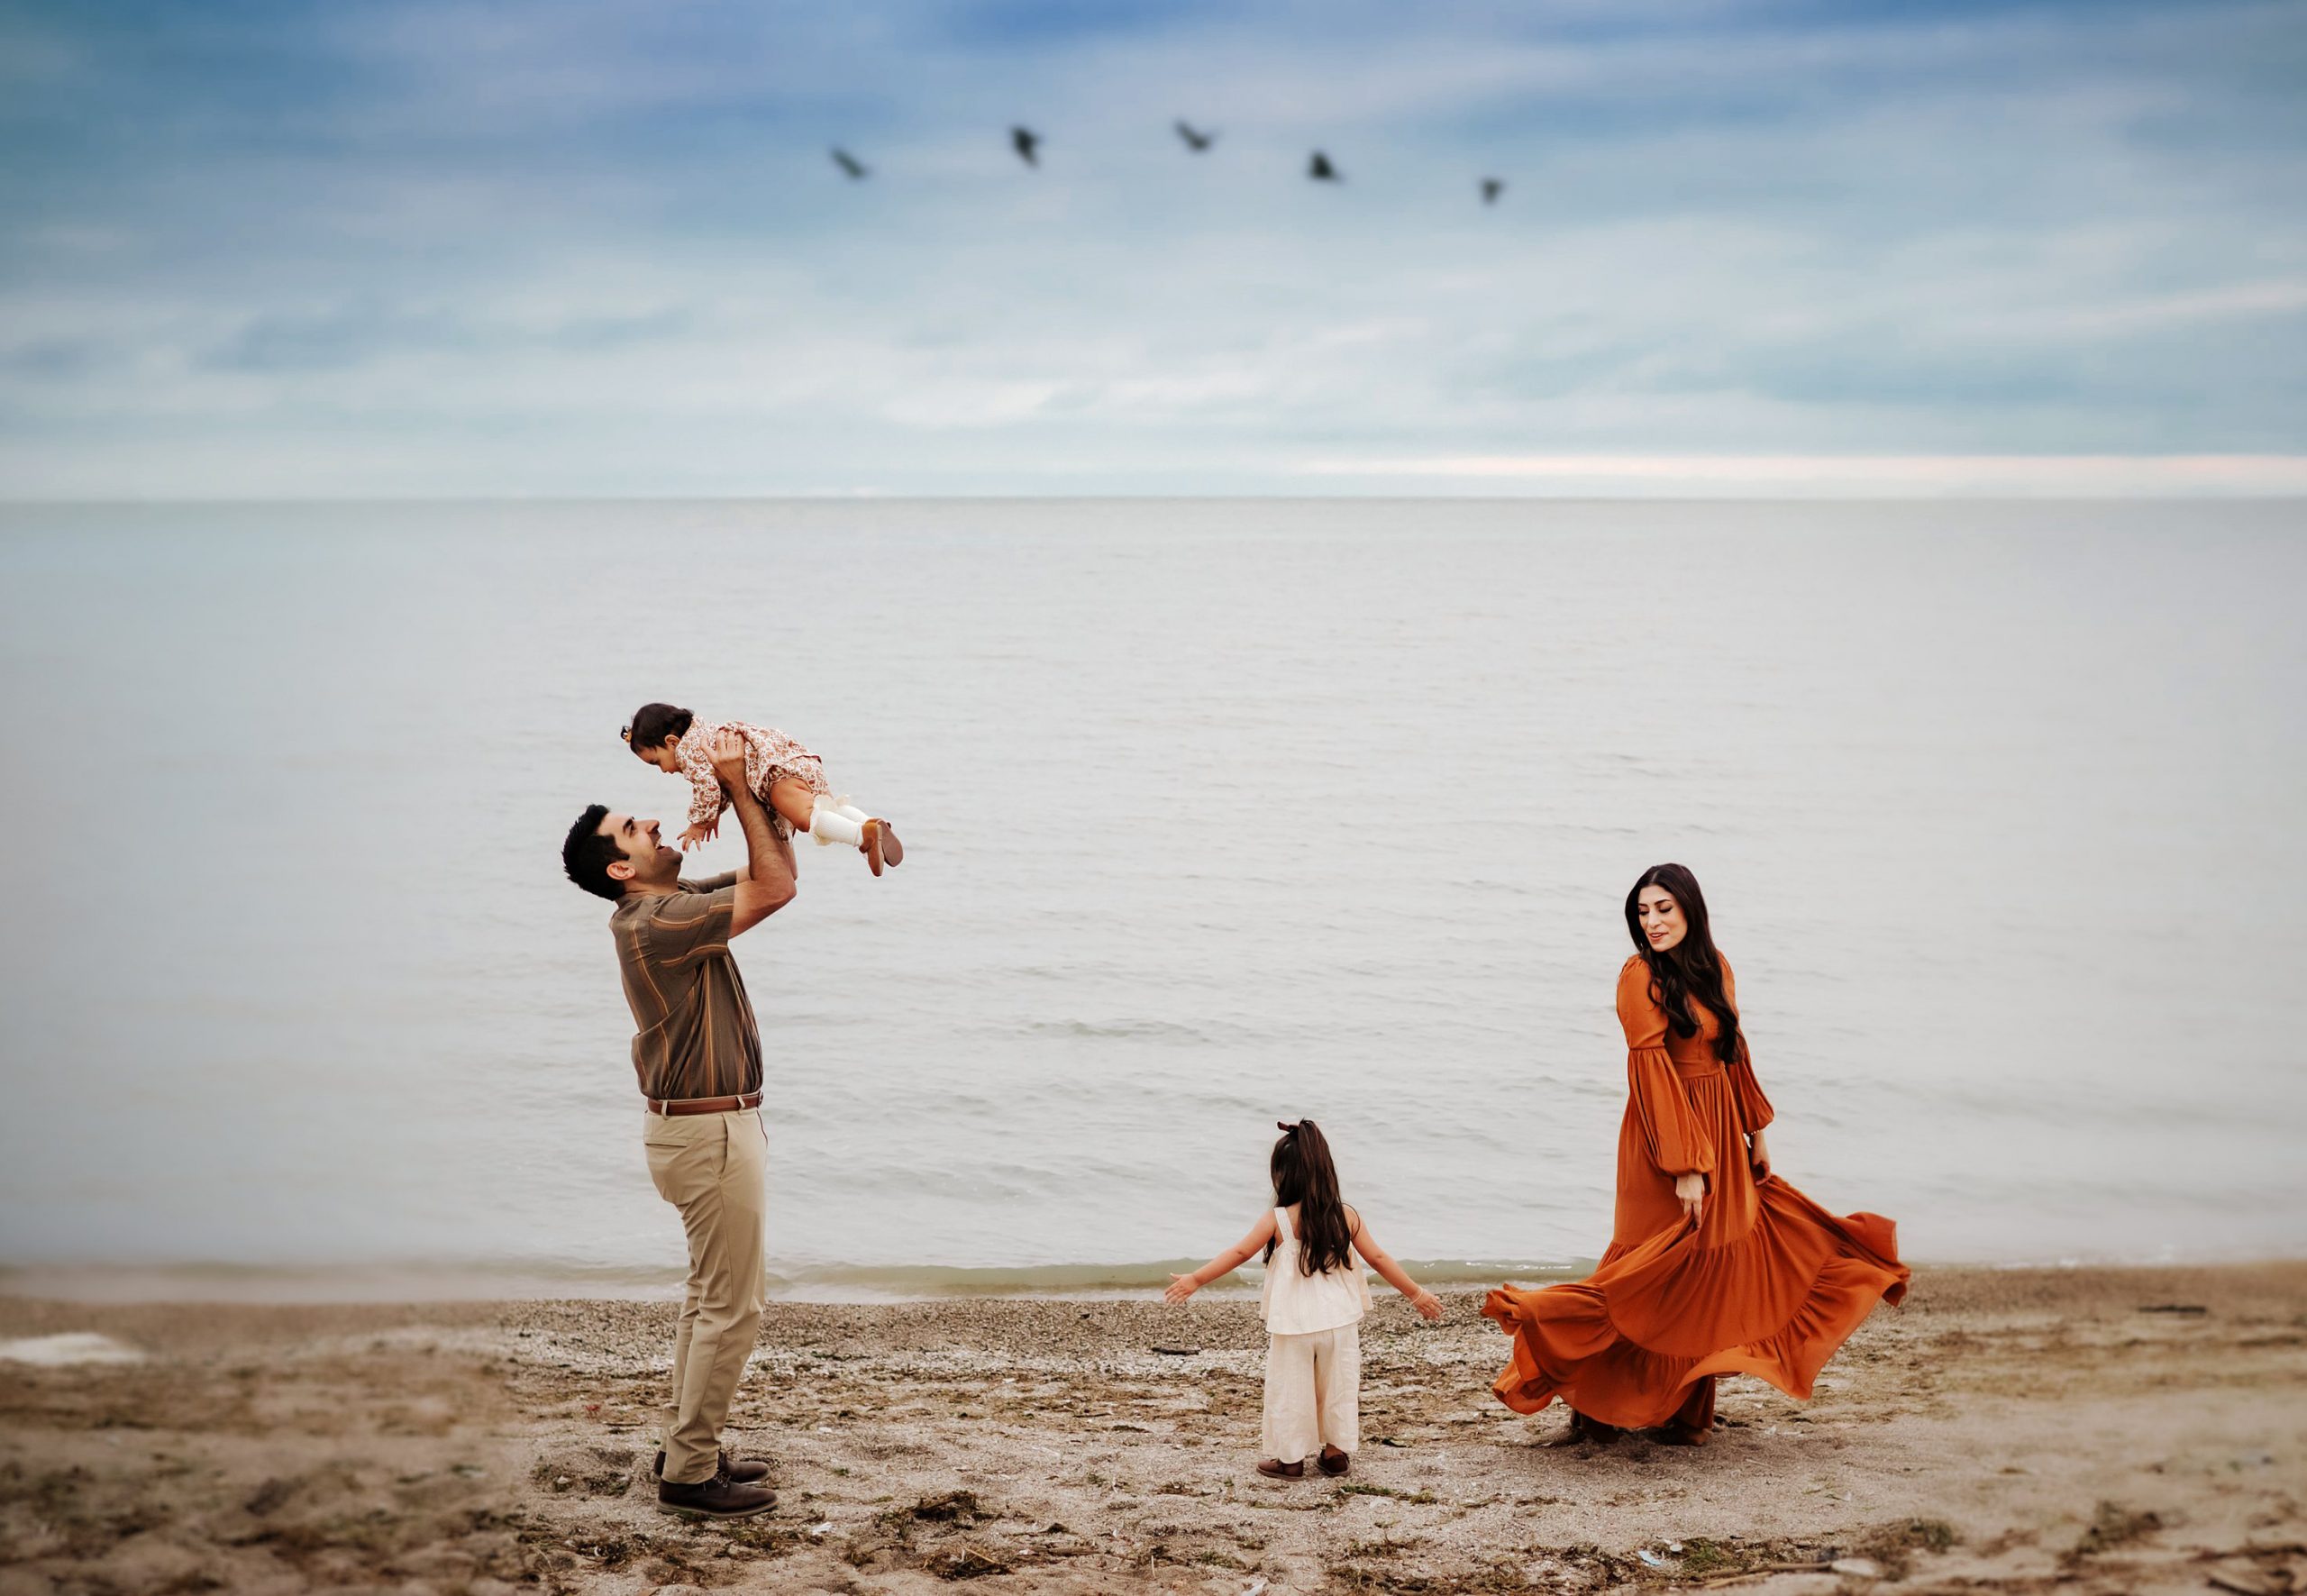
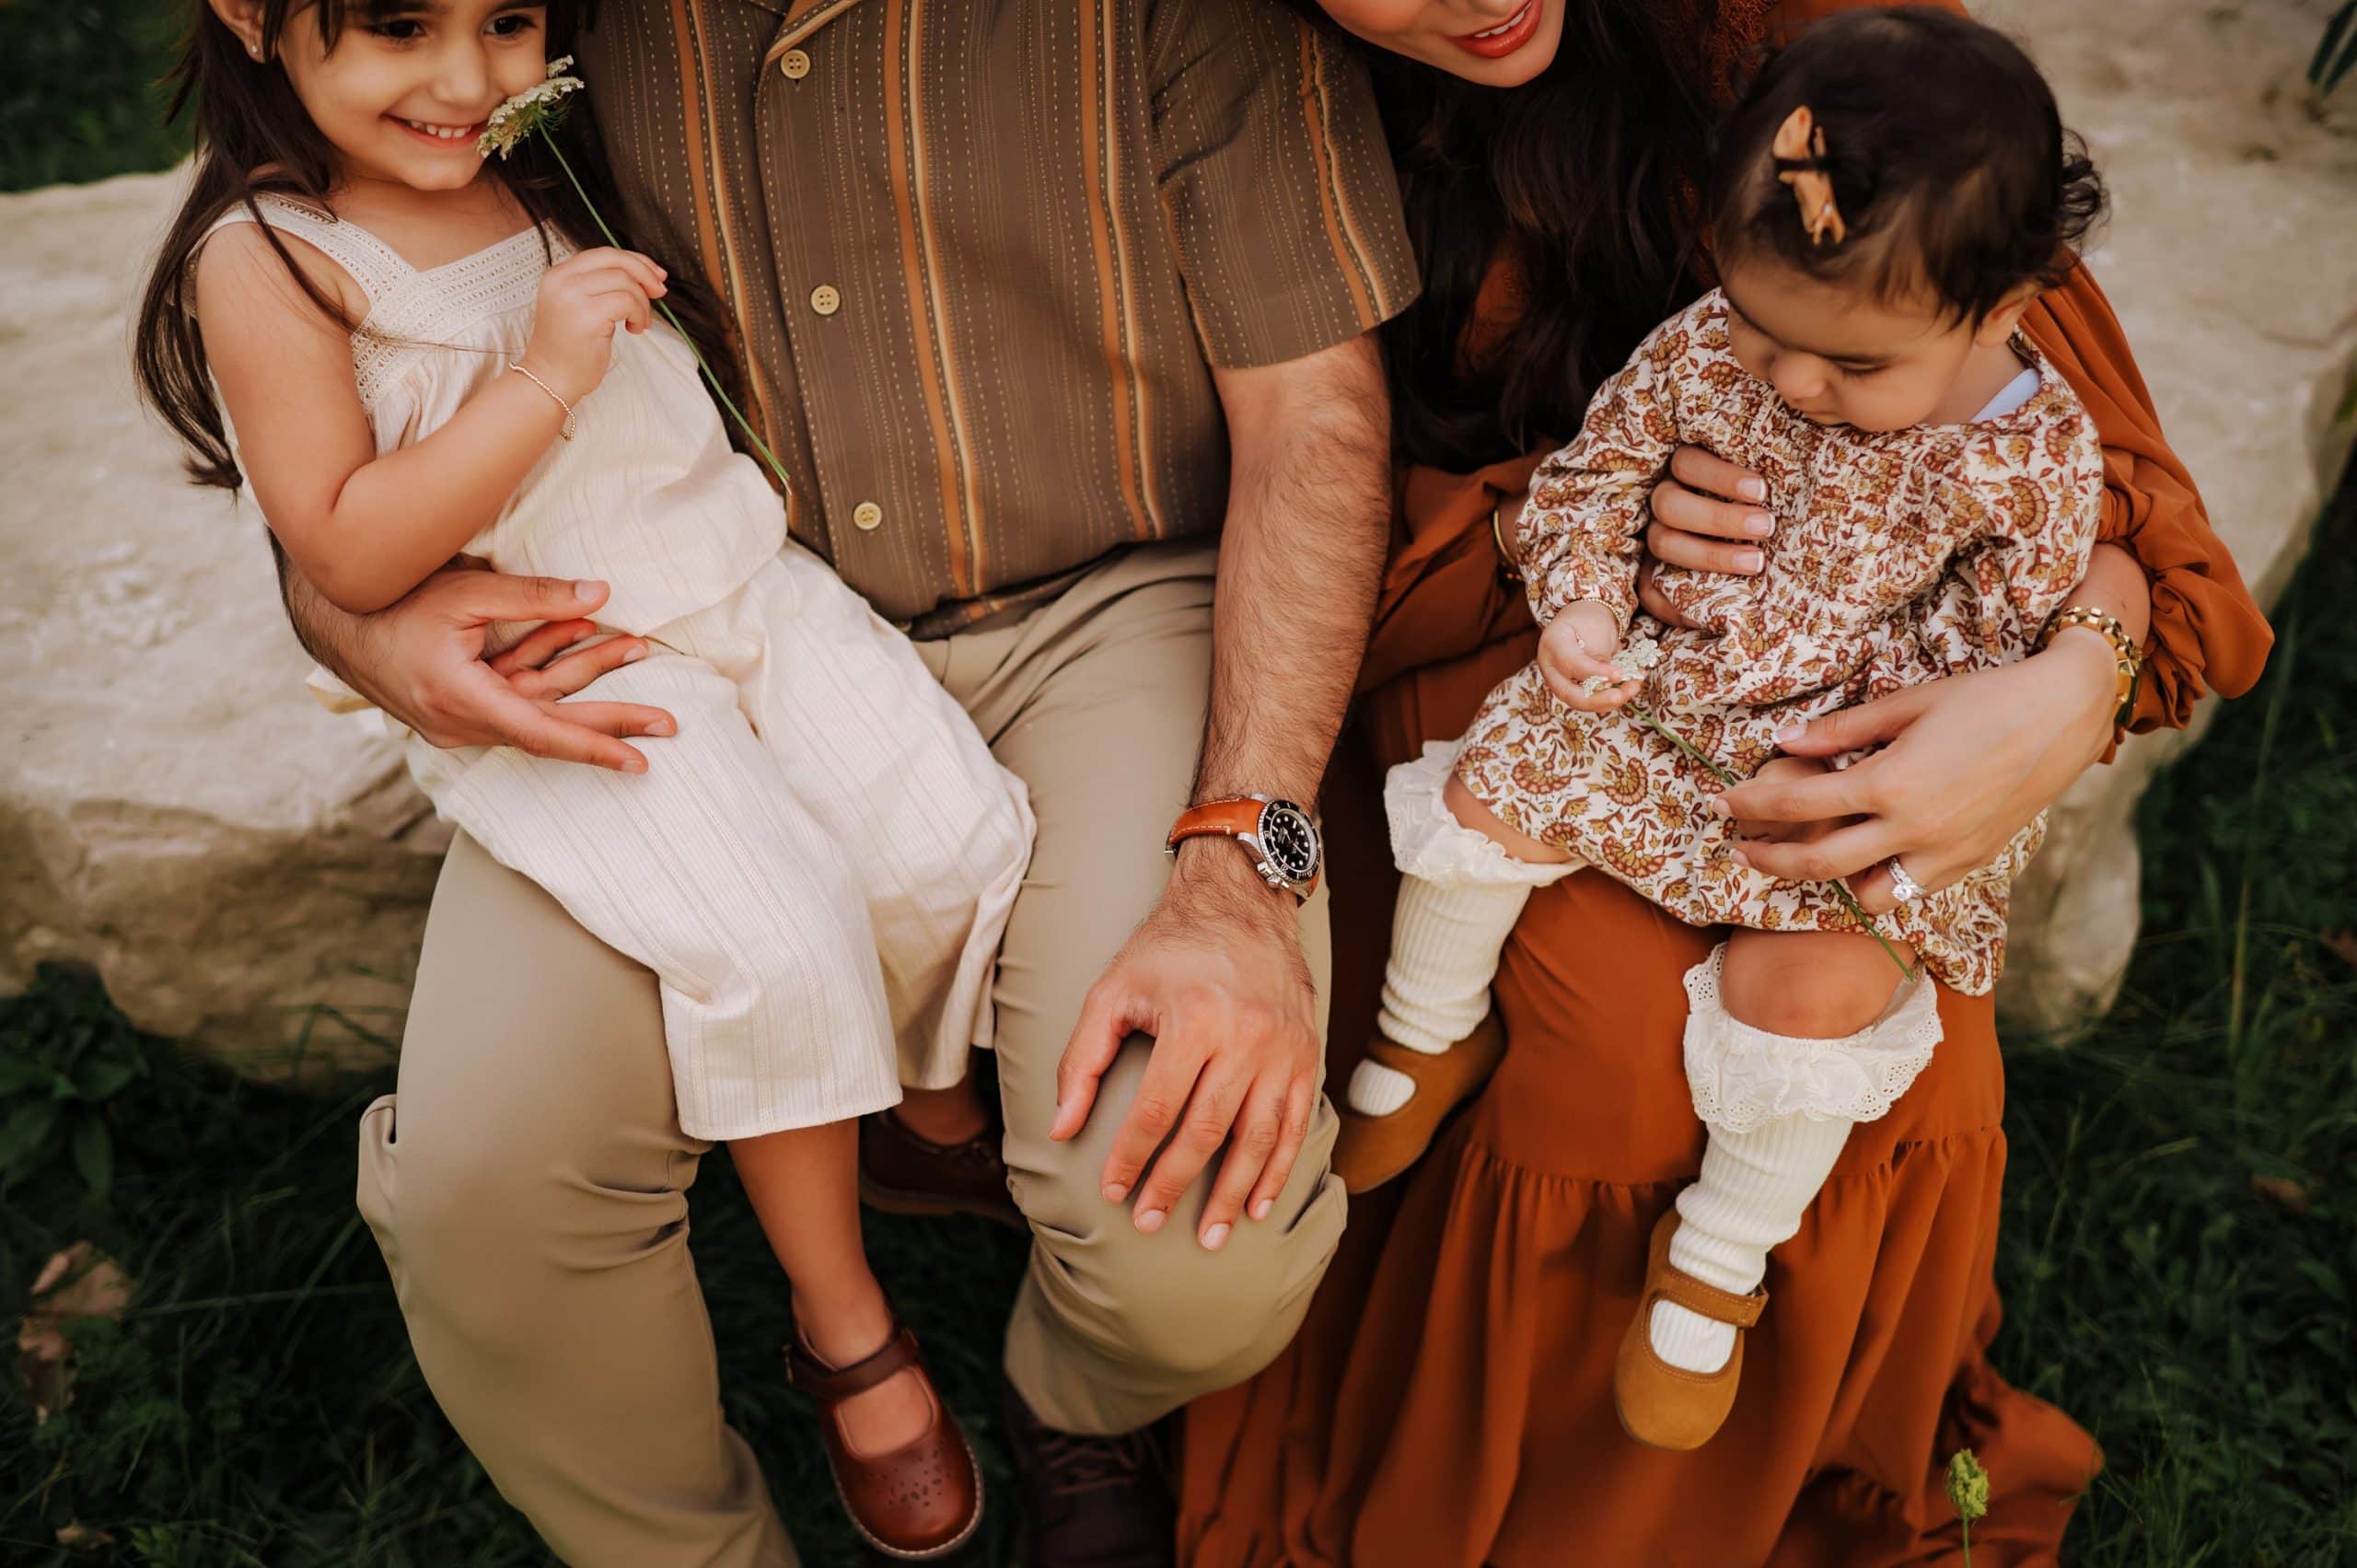
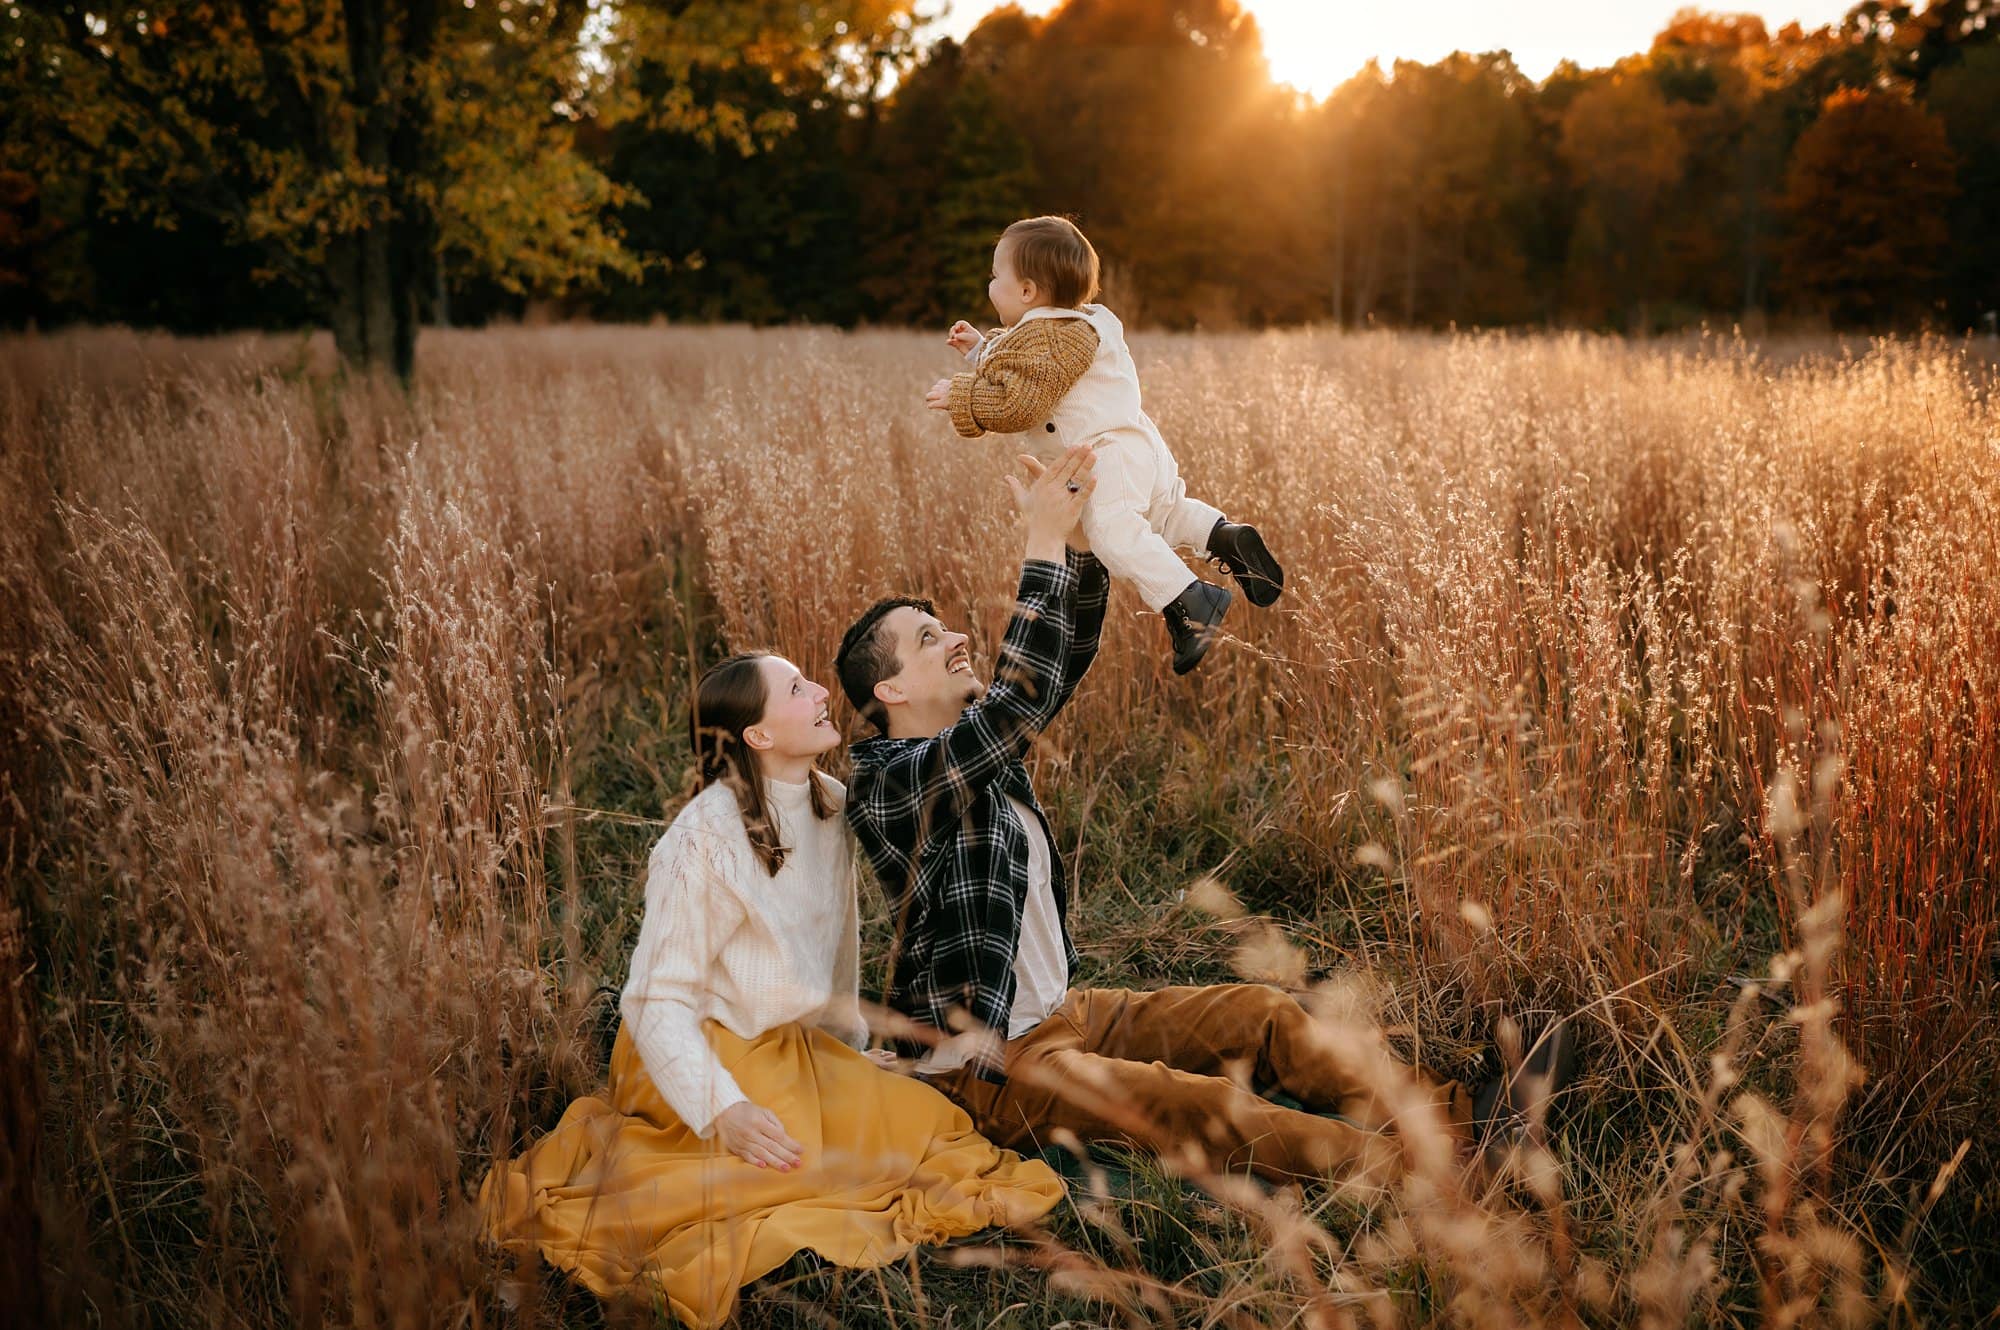
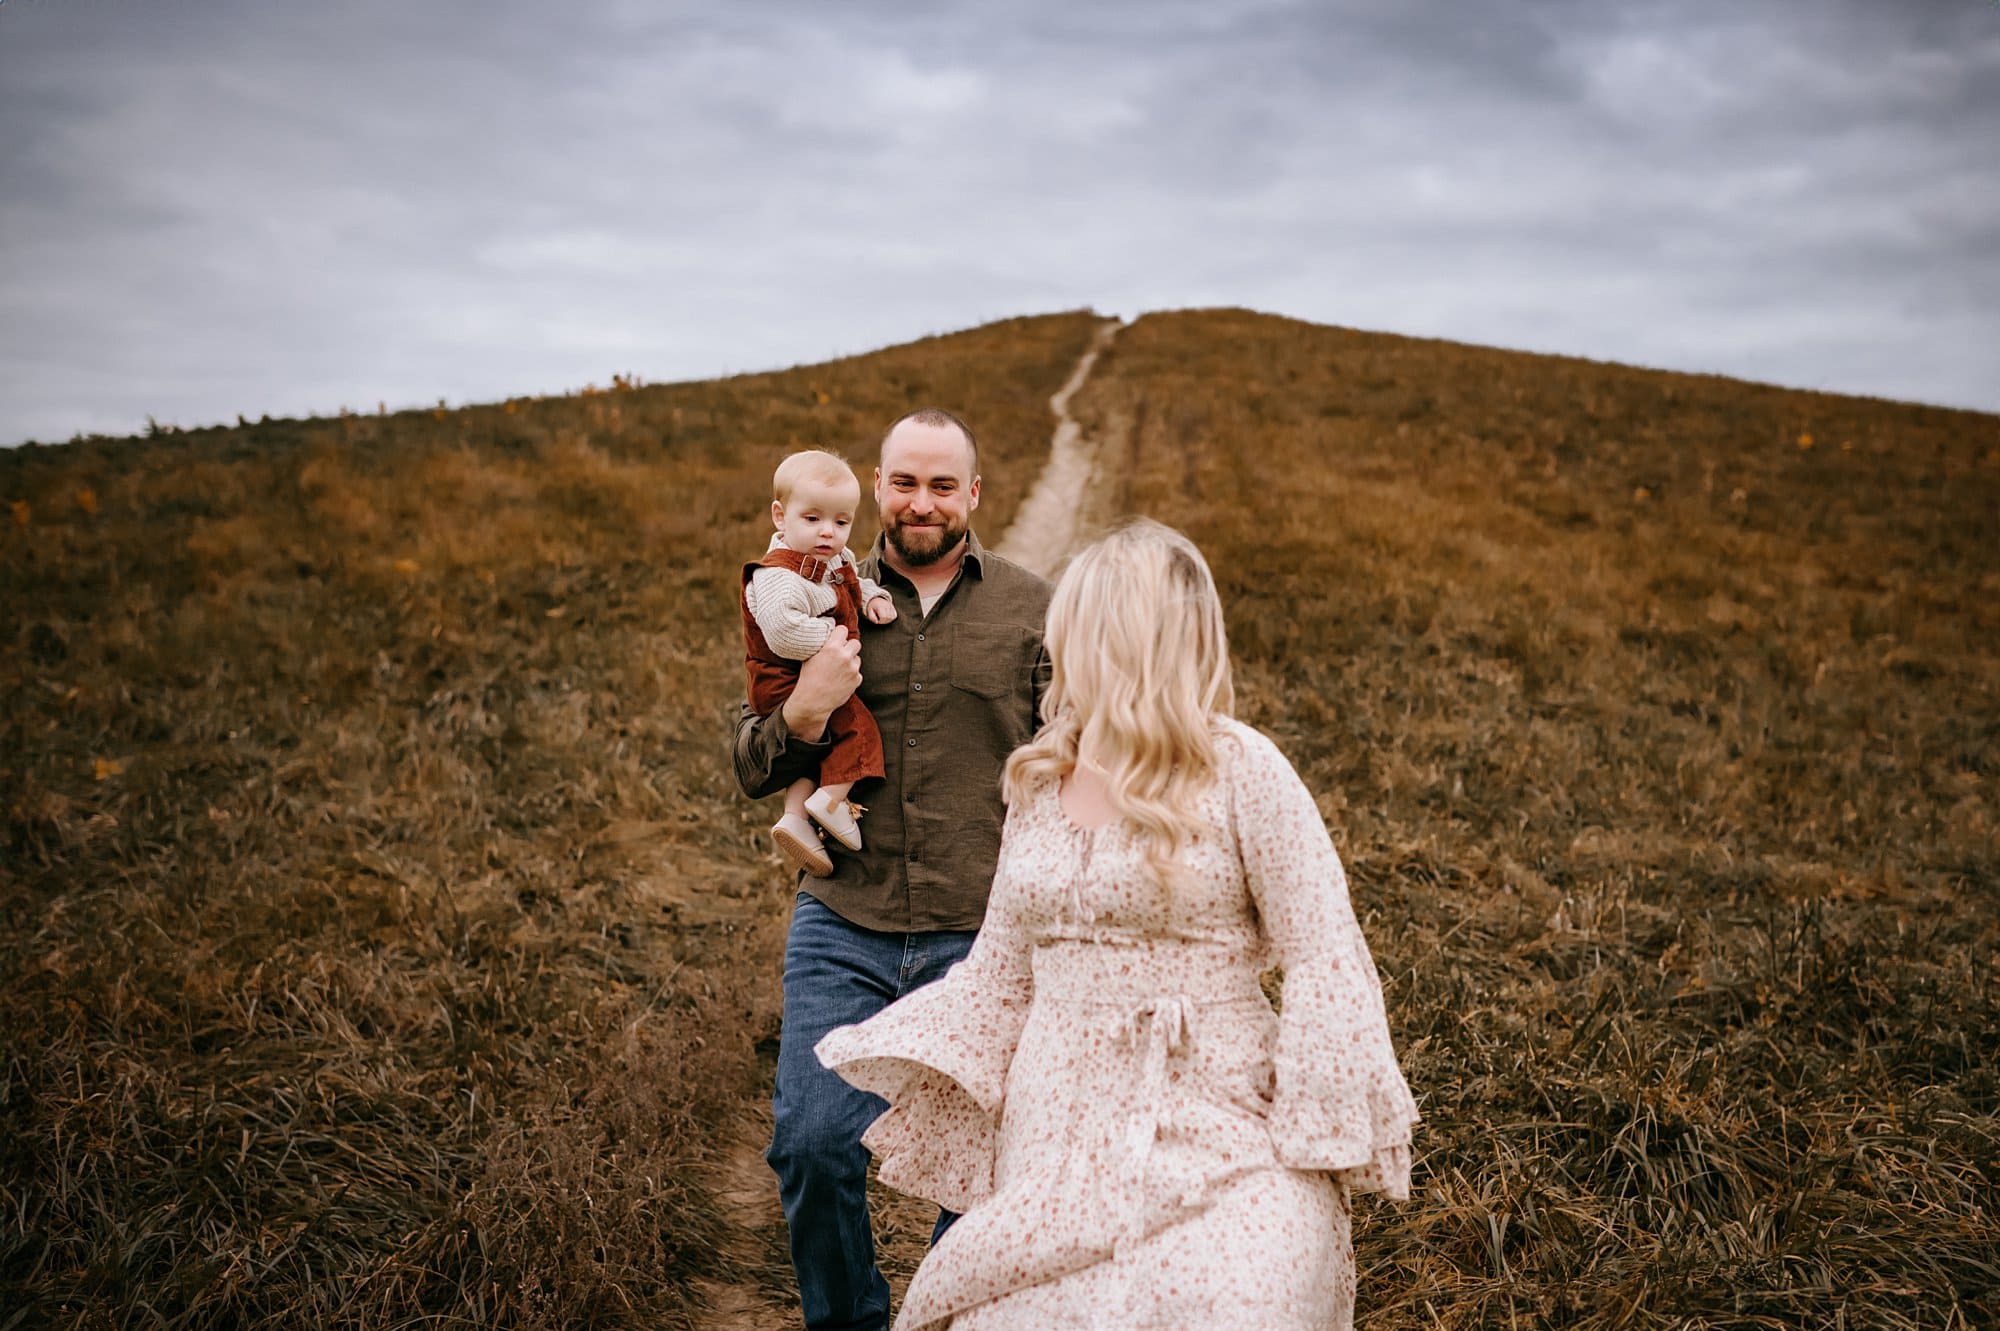
To put it simply, freelensing is taking a photo with the lens detached from your camera. Wait, what?!? You might be wondering why you want to do that. The answer is simple. It’s an easy way to get a different look from your lens and can also create more dreamy imagery. When I first stumbled upon freelensing, I fell in love. Mainly because there were no rules. The images I created while freelensing also resonated with my heart. But it does take some practice to figure it out. Once you do you may be hooked like me!

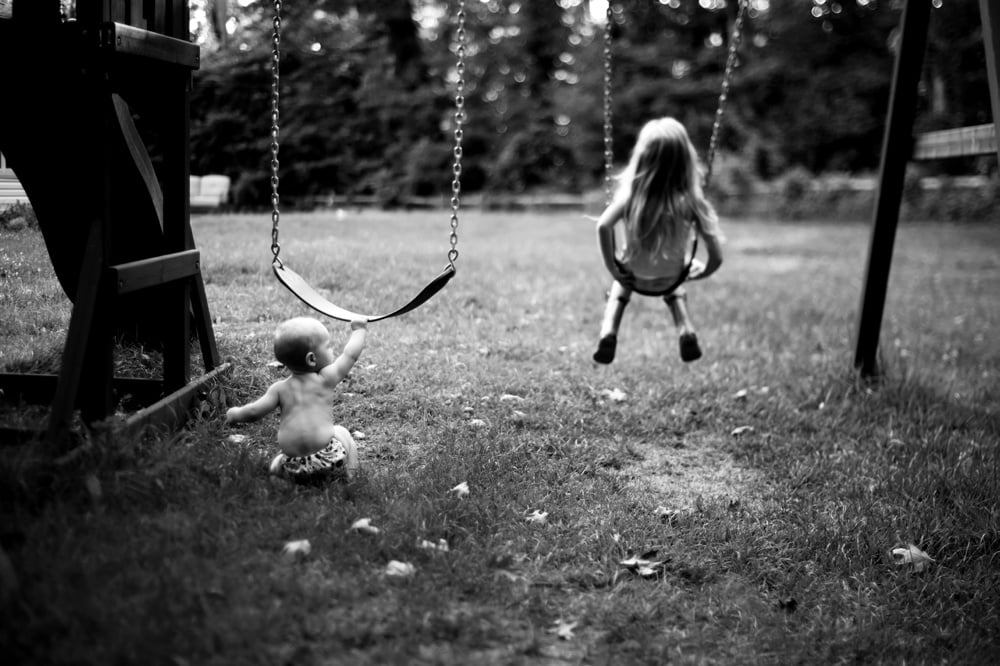
Freelensing Tutorial
You will need your camera and a lens to try this. I usually use my Nikon 50 1.8 with an outside aperture ring but recently discovered I could freelens with a 35mm. The outside ring of the 50mm allows me to open the lens after it has been detached from the camera. By moving the outside ring to 1.8, light can enter my lens more freely when detached. You can also “break” a lens to get it to stay open but I’m not brave enough for that option. When I used the 35mm, I dropped my shutter speed since I couldn’t open the inside ring.
The first thing I like to when freelensing is set my settings. Keep in mind that your image will be a bit brighter since you will have so much light in your lens. Then I detach the lens and move the outside ring to 1.8. I place the lens over where it would normally go (matching the two white dots) and slowly move it until the subject is in focus. A lot of chimping is involved in that step! If you are having trouble finding your focus, I recommend shooting in live view. This allows you to see where the focus is falling before you press the shutter. Also, don’t forget that as your subject moves, so will your focus.

Practice!
Freelensing requires one thing…practice! It can be really tricky to get it down and nail focus where you want it to be. Keep practicing and before long you will love having this fun way to add more variety to your images.

Feel free to ask questions about freelensing as a comment. Always happy to help!
